Monday, May 12, 2014

Sewing Class...Session 2, Lesson 1

I'm starting the second term of sewing lessons and I thought I'd record the individual lessons here so my students could access them to review what was covered each night. As it happens , all my ladies need to make a Full Bust Adjustment on their garments. I decided , this was a good place to start!

Class #1 (May 7, 2014 )

Lesson...Full Bust Adjustment and Adding a Bust Dart

Step 1... Locate bust point by measuring from shoulder seam at neck to center of bust
              (nipple). Draw a small circle  (A) on bodice front pattern to represent your measurement.


Step 2... .Draw a line from bottom of bodice front parallel to center front line to the bust point. (AB)
               Draw a line from bust point to the notch on the armscye (armhole). (AC)
               Draw a third line from bust point to the bodice side about 3 or 4 inches below under arm. (AD)


Step 3... Cut along the first line to the bust point and from the bust point to but not through the armscye.
              Spread the pattern 1/2 inch for each cup size above a B cup at the bust point. Ex...for a D cup ,you  would spread 1 inch.


Step 4... Slip some paper under the pattern. Cut along the other line drawn (AD) from bust point to bodice side.  Cut to but not through the bust point .
              Straighten the side of the pattern so it is once again parallel to the bodice center front .This will open the bust dart.{ Notice that the bottom is now uneven. Slip paper under and extend the lower  center front. This will give you more room  and your garment will no longer hike up at center front.}


Step 5...At the side measure the width of the dart and mark the midpoint. Draw a line from this midpoint to the bust point.
             On this line measure about 1.5 to 2 inches back from the bust point . Draw a line from this point to  each side of the dart  on the bodice side .These lines are the dart legs.


Step 6.. Tape everything in place.Carefully fold the dart closed and lay it downward on the bodice side Draw a smooth line and cut away any excess from the side edge.Now open  dart, lay flat  and you should  see a little shape jutting out  from the side.


           You are finished and your bodice pattern piece should now accommodate the size of your  bust!


Demonstration...The Hong Kong Seam Finish

Click here for the instructions for this beautiful way to finish the inside of an unlined garment.

 Here are a few examples.


Next week, we'll cover the Full Bust Adjustment  for a bodice that already has a bust dart.
I'll  also demonstrate the Stitch in the Ditch technique.

I hope this is useful to others as well as Karen , Dorothy and Donna.

As always, more later from


Tuesday, May 6, 2014

Sewing a Collar and a Band

I got a request via Email to explain how to get a collar and collar band even on both sides. I thought that was an excellent question so thank you  Enid.

Here is the collar and band on my recently made B5786


To begin with,I often interface both the upper and lower collar and both parts of the collar band.
In my sample , I only did the upper collar and one part of the band because my fabric is a substantial cotton/lycra knit and I might add not an ideal fabric to show off top stitching  or pressing skills as you will see.

I also want to note that after teaching ladies who already sew to sew better, a common flaw is to not honour the 5/8" seam allowance required by most pattern companies. I also notice that they don't trim off excess interfacing such as you see below .This will affect your results so be careful about these "little" things.


I will now proceed with a step by step of how I achieve my results.

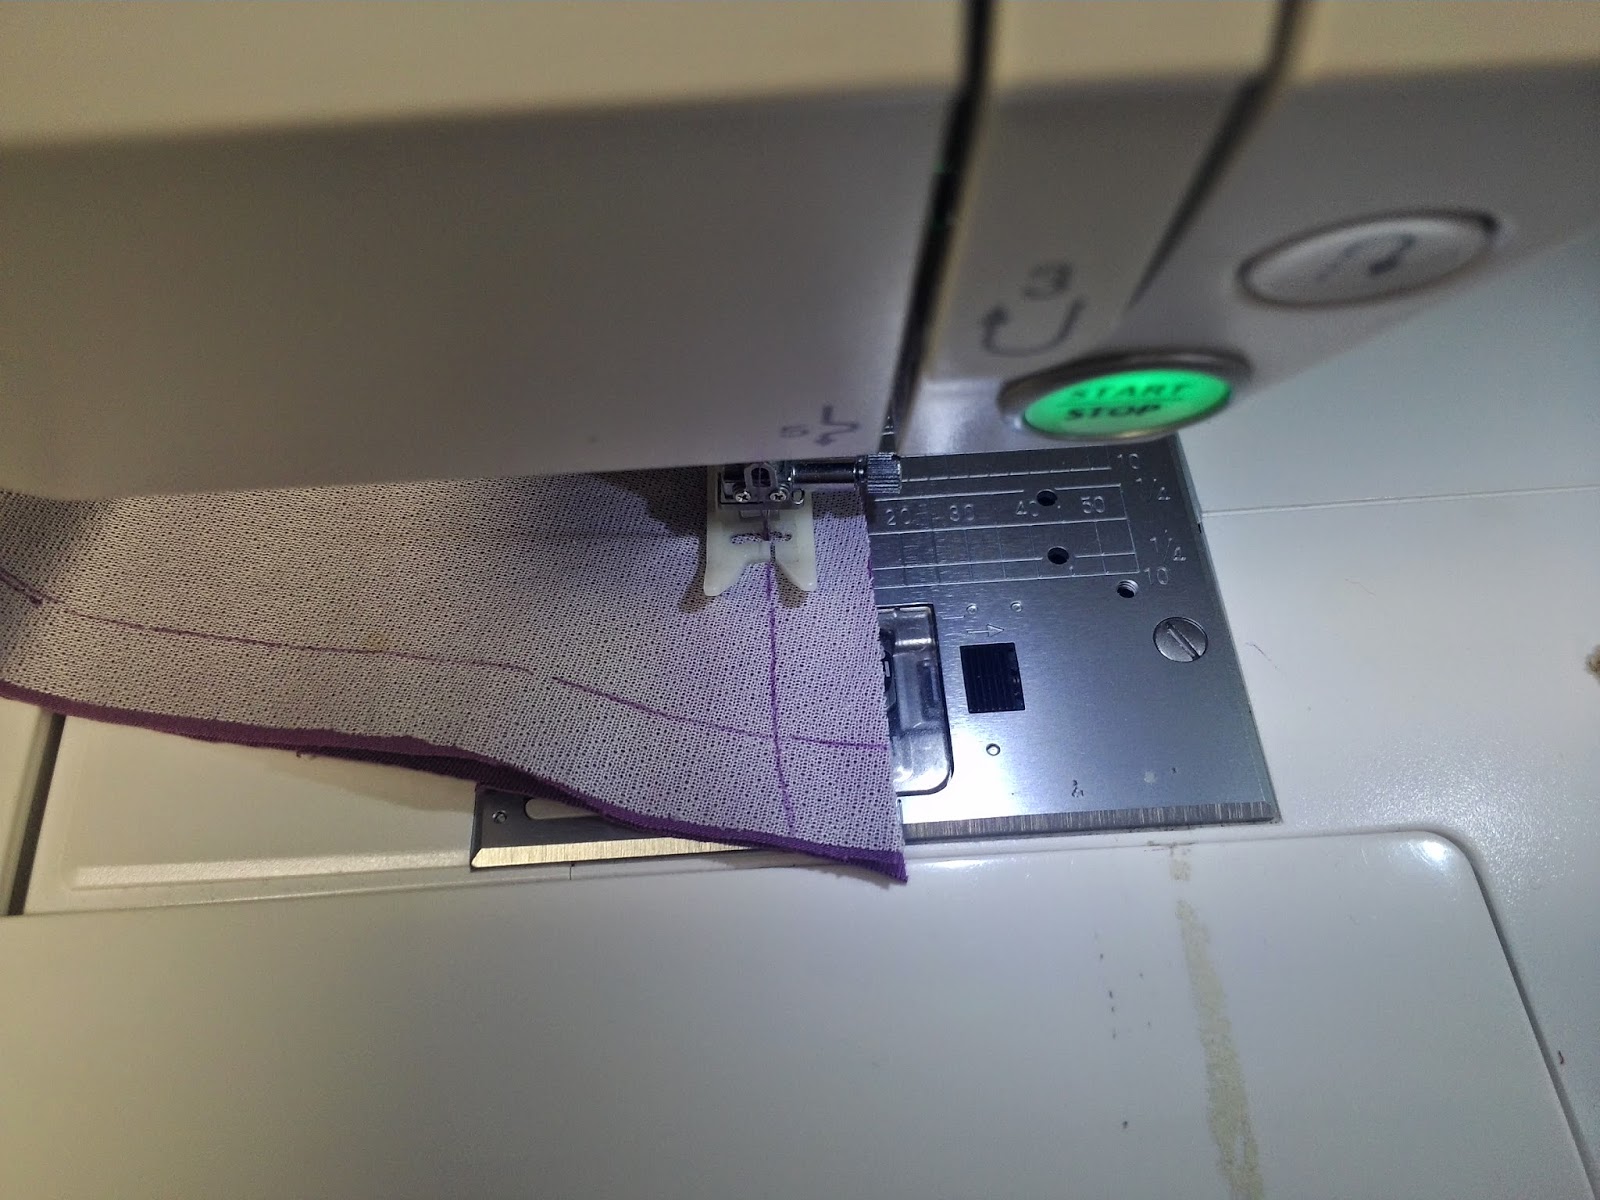
Step 1....On the interfaced side of the collar and band because it is the most stable and you will sew           from this side ,carefully measure and mark the 5/8" seam allowance. I use a fast fade  marker for this. Be particularly careful with the curve of the band.


Be sure to mark the circle on each side of  the band.. The collar will fit between the two circle.


Step 2....Sew the upper and lower collar together  being very careful to follow your marked line. Don't stop at the corner and turn but sew right off the piece and then start again. You will get a much cleaner and even point or corner this way.


Press the seams of the collar on a tailor board if possible. Take time to press carefully until you have  nice crisp edges. If you are planning on top stitching , now is the time to do it.


Step 3......Place one band on either side of the collar making a ''sandwich''. (Sorry that my pic only shows one end.) The circles on the band  should be located at the edges of the collar.


Step 4......Sew exactly on the line drawn on the band. Trim the seam , turn the band to the right side to expose the collar. Press carefully. Do not top stitch the band until after it is sewn to the garment.


Your collar with band is now ready to be sewn to your garment .

If you take your time, mark the 5/8'' seam allowances ,sew and press carefully, you should achieve great looking collar and band  Good luck with this and Happy Sewing from


Friday, April 4, 2014

Organizing My New Sewing Room...Part 1

Most of you have probably seen my new sewing room at Sew Passionista by DIANA and I thank you for the comments.To avoid a too long post, I'm doing only Part One of two parts, tonight.

I wanted to give a few details of how I organized my new space in hopes of maybe helping someone else who wants to reorganize her space.

I spent many hours thinking about, drawing and searching the internet  for ideas for my new room but I think many years of a small crowded space and a lot of sewing experience were my best guides to achieve what I wanted .

More than anything, I didn't want any clutter and I had to have enough room so my cutting table would fit in the middle of the room.. I think I achieved all that.


There had to be a cohesiveness about the furnishings. For this, I relied on the Internet. I started with my main wall units. My search finally took me to Canadian Tire and these closet organizers. They are also found at Sauder.com.


At first I only wanted two towers but my husband was really sure I would need three and he was right.


Almost all of my fabrics found a place here. The large baskets at the bottom used to be in my family room under a shuffle board game which we donated to our community center. It held toys and games for grandchildren . Now they hold my fabrics for coats, suits, and linings. I even took pictures of each fabric as I layered them in the baskets so I would know where everything is.


The rolled up fabrics are my lighter knits. I grouped denims and sportswear fabrics on one shelf and heavier knits on another. Whites have their own space as well. So do printed fabrics and quilting flannels. ( I don't quilt so I don't know why I bought those!).


Other baskets hold my Threads, Vogue Patterns, and Burda magazines. I have baskets of larger scraps like denims in one basket and leathers, real and faux as well as suede in another. Laces and fancies are here.


This shelf holds my small collection of sewing books and pattern books which I get from Fabricville from time to time. Patterns are in covered shoe boxes on the top shelves.


The drawers hold silks, interfacings and materials for pattern drafting and alterations.


I left my more expensive wool fabrics in the closet in my old sewing room so they wouldn't be exposed to too much light.

Pretty much my whole stash is on these shelves. I donated many pieces to the Craft College in a a nearby city.

Here is my pressing station. Everything I need during the ironing process is close at hand here,


My inspiration board is also my project planning board.

. This basket also holds pattern papers, rulers, my sleeve board and whatnot.


My grandchildren keep me company while I practice my craft.


If I haven't bored you too much, visit me again later in the week and I'll show How I organized my sewing station .


Sunday, February 9, 2014

My Uniquely You Dressform


It's been a while since I posted here. It occurred to me that I could share my Uniquely You dress form experience.


I did a lot of research before I decided to order my new dress form. I watched this video which was a great help. I found my Uniquely You at Allbrands.com for the lowest price and it arrived promptly.

You chose your size according to the chart below


And it arrives looking like this


Now if I hadn't done my research, I would have been in shock to see those pointy boobs!! And I wouldn't have known to use a serrated knife to cut off some of the excess.I ended up cutting off quite a bit .


The form comes with a cover and mine fit me quite well right out of the box, but I did alter it quite a bit to accommodate my narrow shoulders and flat hips. I lacked the courage to show you photos of me wearing the cover. Also, the instructions said not to skip any steps and being a very literal person, I followed each one religiously and I have a feeling, needlessly. The excercise took me four hours!

Oh and I couldn't have gotten the cover on me without the help of my hubby to zip me up and then again to get in on the form!

The instruction warns you to make the cover slightly smaller than yourself  (and it gives you a formula to follow) because the high density foam of the form would stretch out the fabric of the cover and it did. I had to take it in a lot and I still ended up with an extra inch everywhere. I have a feeling I should have ordered my form a size smaller than I did. My measurements fall within the Small category and because of my bust, I chose Small 5 and I should have chosen the 4.

Still I'm happy with my new acquisition . It is much closer to my matronly shape than my Diana dress form which I'll keep to use for my DD.

Here's what it looks like finished


The boobs are kind of flat and I could add the tips that I cut off but no way am I taking that thing off again!

I do recommend this dress form if, like me your shape has changed with the years or if you were not born with the ideal figure represented by most dress forms.

Hope this is useful to somebody!


Friday, November 22, 2013

Pockets with a Difference, Part 1

For a long time I've been wanting to write posts about different types of pockets. I'm therefore going to say that this is the first in a series.

This week's pocket is one I got from Vogue 8065 which I've made many times as you see in the composite below.


 I pretty much changed the pockets a little for each version.  I'll explain how these pockets are constructed  and I'll include my new version.

There are two pattern pieces for these pockets. ( if you want to make them, the pocket which I've placed on grain in the photo. measures about 10" by10"   but shaped as you can see. The facing piece is 6" by 3". )


1. First mark carefully the placement of the pockets on the inside of your garment. Baste around this placement so you can see the placement on the outside of the garment.


2.  Now mark the placement of the opening of the pocket on the outside of the garment using the facing pattern piece.. On the inside interface this spot to support the opening.

  
3. On the wrong side of the facing piece, mark the lines for the opening of the pocket and stitch so it is visible on the right side.. On this version,  I used a welt opening.   


4 .Place the facing piece in the marked position on the right side of the garment. and stitch along the stitching line. ( In my newest version of these pockets, I added a pocket flap. This must be placed between the garment and  facing and then stitched.)


5. Clip carefully from top to bottom of the welt and turn this  to the inside and press carefully.


6.On the outside,top stitch around the facing following the basting stitches. Top stitch around the welt opening .


Now you are ready to sew the pocket to the wrong side of your garment.

5. Finish around the wrong side of the pocket using a Hong Kong finish or by serging..

6. Using Steam-a-Seam, affix the pocket to the marked placement lines


7. Turn your garment to the right side and using the basting line as a guide, top stitch around the pocket once or twice, whichever you prefer.( On my newest version, I sewed trim around the outside of my pockets).
 
 
Your pocket is complete! Isn't it lovely and a nice design detail for a coat, skirt, or in a smaller version , a top or dress?

Here are closeups of the pockets on the garments in my collage.


In this one , the opening is in the middle of the pocket and not on the side.


For this one, I worked from  the wrong side of the coat to bring the slot facing to the outside.


For this one, I slanted the opening a bit.


My newest version. To see more on this coat , look here at Sew Passionista by DIANA.


You could make smaller versions of this pocket, change the placement of the opening. Sew the pocket to the outside instead of the inside as I've done, and I'm sure we could think of other ways to use this great pocket technique.


You can read more at Sew Passionista by DIANA.
 
I do hope you are having a great time sewing something wonderful!
 
More later from