In this post,I'll talk about the inside of the coat and how to make it look Wow!and just a little couture.
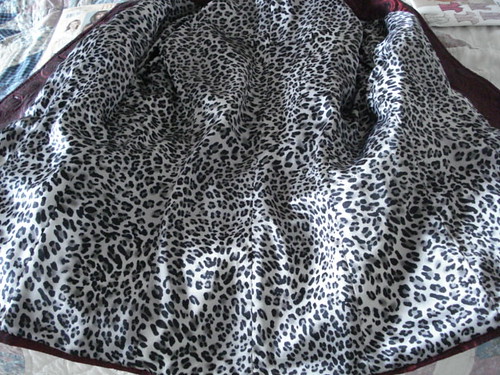
A good quality lining is a must. I like to use a Bemburg rayon lining in a lighter coat or jacket because it breathes and is drapey and richer looking than a polyester lining. However,I will use a polyester satin or silky print that has pizzaz sometimes to add a little drama. Here are a couple of examples:
I made the lining of this jacket to match the blouse that goes with the suit.


I love animal prints but I'm too shy to wear them but in a lining, I think it can add a bit of fun to a jacket.


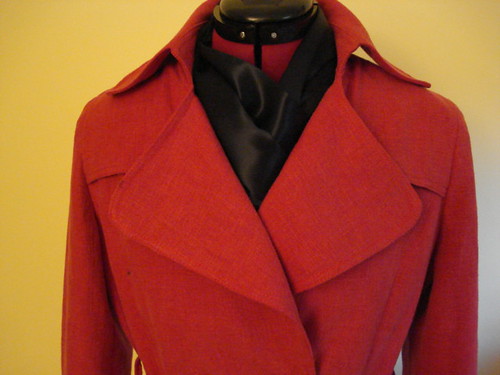
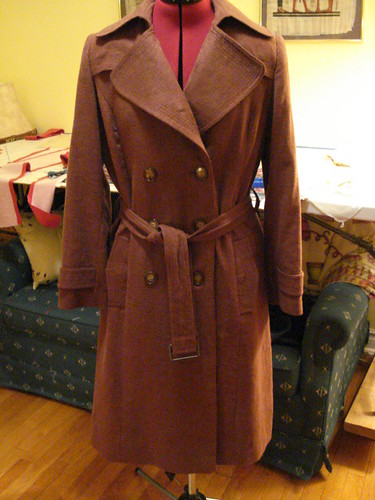
Having said all that, silk is a luxurious choice, especially charmeuse, for a lining!In the two linen trenches that I made for my DD (red) and me (brown),that's what I used.
For this one only the matching scarf shows.I don't have a pic of the lining.

This is a coordinating silk print which I couldn't resist . It was $29.99 a metre but on sale for buy one get two free!


Another element you can add to the inside of a coat is a coordinating piping between the facing and the lining.You have to use a very lightweight piping cord or else when you press, you'll get an imprint on the right side of the coat.I learned this technique by watching Sandra Betzina on Sew Perfect when it was still on HGTV.


To see this jacket look here.
 For this coat ,look here.
The next tip I'll share with you is best shown first in a photo or two.

What you see is something called a Hong Kong finish at the bottom of the front facing. It consists of wrapping a piece of fabric around the part of the bottom of the facing that isn't sewn in place. I'll do a short post on this technique in a couple of days so check back if you're interested.

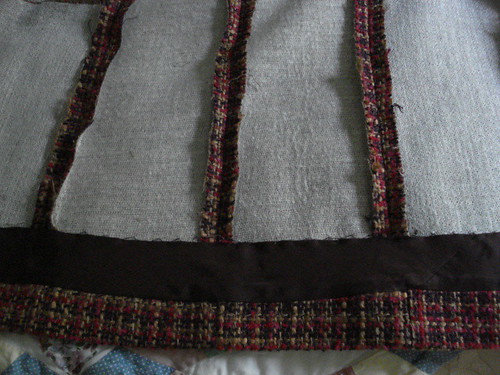
#4...If you have a Ready-to-Wear (RTW)coat chances are that if you look on the inside of the bottom of the coat and lift up the lining you'll see a wide band of the lining fabric cut on the bias like this.

The reason for inserting this strip is to add extra support to the hem of the coat. You would first hem the coat at the top of the hem and hem it a second time at the top of the bias strip. This technique is especially useful for a heavy coat.
Also it just looks nice if your coat is open and the lining should lift up.
 ( To see this coat ,look here).
#5...My last tip concerns attaching the lining to the coat at the hemline.As you see in this photo,

I attach the lining by crocheting thread chains that are about an inch and a half long at the center front ,center back and side seams of the lining and attaching them to the corresponding coat seams.
This is a useful step because it controls your lining and keeps it closer to the coat without having to attach the two together for the whole width .
Well, I hope I've inspired you to make that coat you've been thinking about.It takes a long time and a lot of sewing to make a coat ,but it's worth all the little extra steps you take to make it look professional.
Good luck and Happy Sewing from Diana.
Your garments are beautiful. Thank you for the inspiration.
ReplyDeleteYour photos and decriptions of techniques are excellent! It reminds very much of the Singer series of sewing books from years ago. Very detailed and great pictures.
ReplyDeleteWhat great eye candy! You have made some really beautiful jackets and coats.
ReplyDeleteWoohoo, your coats are beautiful. You have such attention to detail and it makes such a difference. Exquisite!
ReplyDeleteI'm glad I found your site and I have subscribed to your feed.
Maripat
LearningAlterations.com
Wow, your work is just gorgeous. Do you have any experience sewing with Cashmere? I just purchased yardage for a winter coat and can't wait to get started.
ReplyDeleteThank you Diana, your posts are very informative.
ReplyDeleteIt’s nice sharing! The fashion coats for women at store www.20880.com.
ReplyDeleteI want to masturbate in that suit
ReplyDelete