I got a request via Email to explain how to get a collar and collar band even on both sides. I thought that was an excellent question so thank you Enid.
Here is the collar and band on my recently made B5786

In my sample , I only did the upper collar and one part of the band because my fabric is a substantial cotton/lycra knit and I might add not an ideal fabric to show off top stitching or pressing skills as you will see.
I also want to note that after teaching ladies who already sew to sew better, a common flaw is to not honour the 5/8" seam allowance required by most pattern companies. I also notice that they don't trim off excess interfacing such as you see below .This will affect your results so be careful about these "little" things.

I will now proceed with a step by step of how I achieve my results.
Step 1....On the interfaced side of the collar and band because it is the most stable and you will sew from this side ,carefully measure and mark the 5/8" seam allowance. I use a fast fade marker for this. Be particularly careful with the curve of the band.


Be sure to mark the circle on each side of the band.. The collar will fit between the two circle.


Press the seams of the collar on a tailor board if possible. Take time to press carefully until you have nice crisp edges. If you are planning on top stitching , now is the time to do it.

Step 3......Place one band on either side of the collar making a ''sandwich''. (Sorry that my pic only shows one end.) The circles on the band should be located at the edges of the collar.

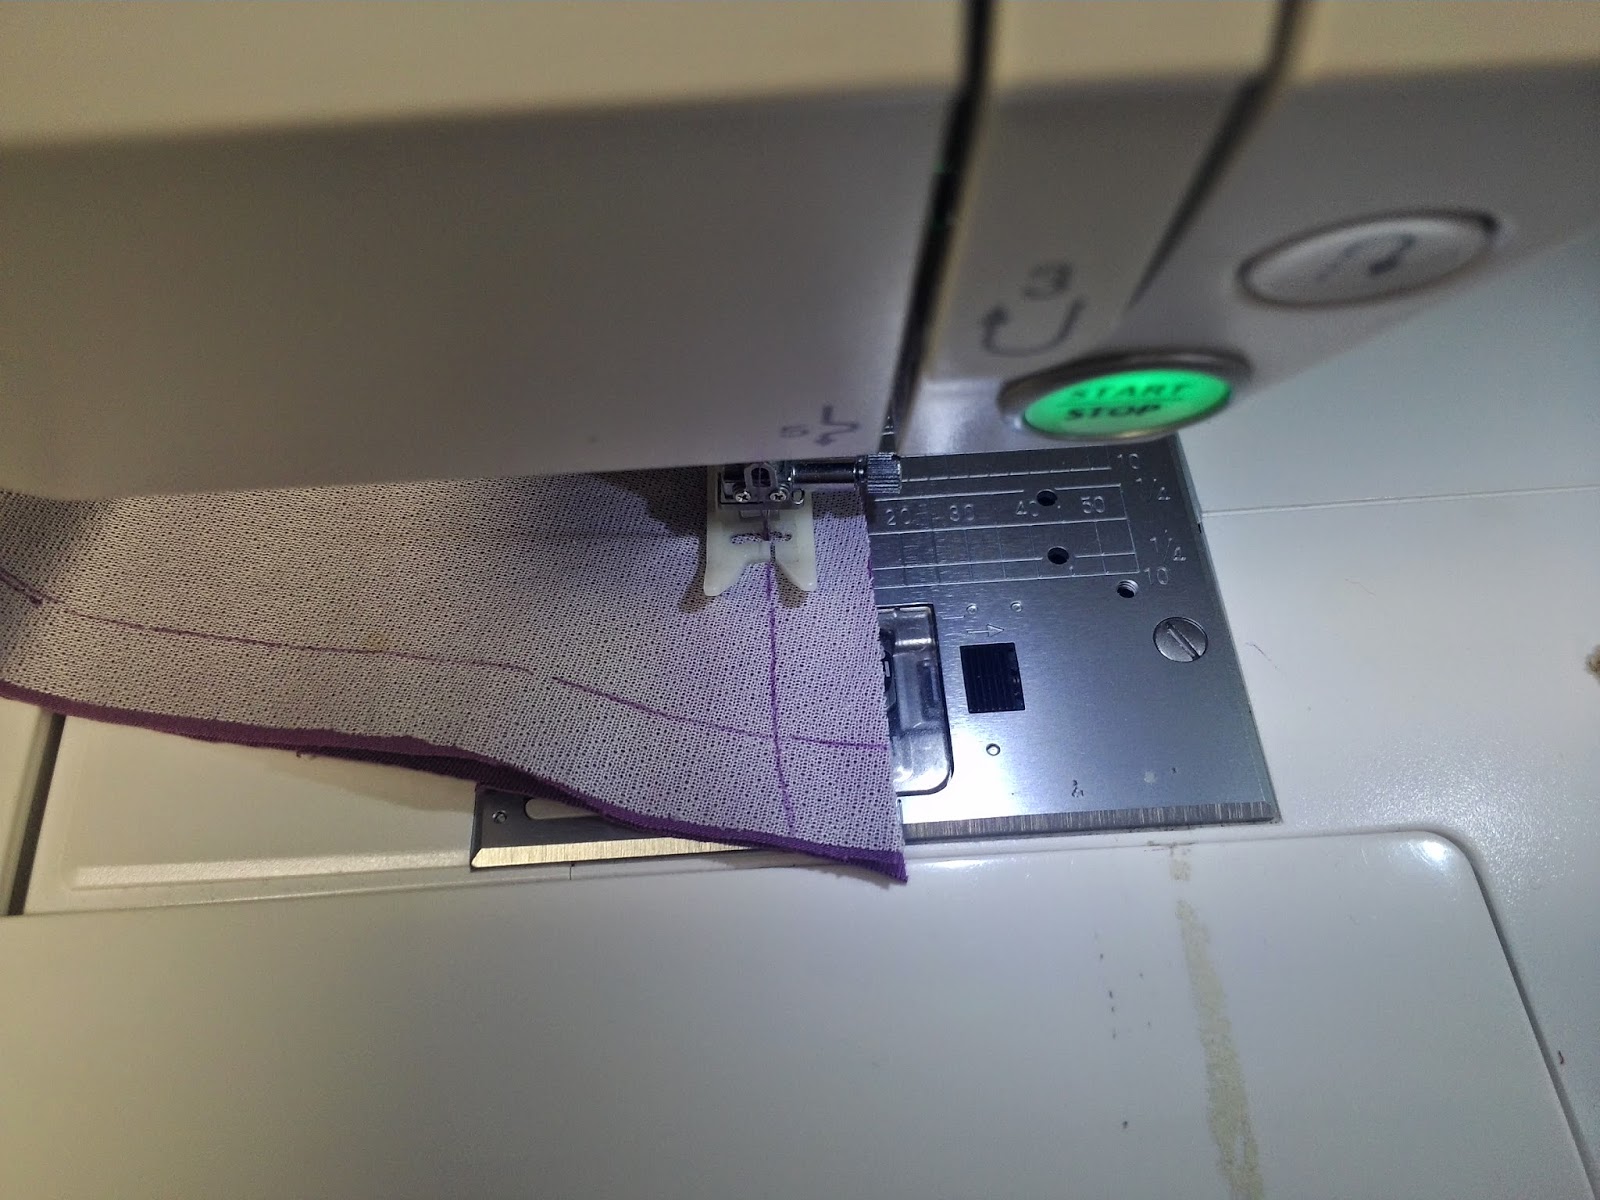
Step 4......Sew exactly on the line drawn on the band. Trim the seam , turn the band to the right side to expose the collar. Press carefully. Do not top stitch the band until after it is sewn to the garment.


Your collar with band is now ready to be sewn to your garment .
If you take your time, mark the 5/8'' seam allowances ,sew and press carefully, you should achieve great looking collar and band Good luck with this and Happy Sewing from

Thank you, Diana, I have tried so many methods for this application, but this one is simpler and more visual for me.
ReplyDeleteNow, I can't wait to sew my next shirt with a collar and stand!
Useful as always. I often run into difficulty getting a clean attachment from the collarstand to the shirt itself.
ReplyDeleteThanks Diana, this is a very clear tutorial.
ReplyDelete