Wednesday, May 28, 2014

Sewing Class... Lesson 3

I only have three students in my class but ,for me, that's an ideal number. I'm not in it for the money but for the sheer joy of sharing my love of sewing.

I started in September with these same ladies . I wasn't sure how to go about teaching sewing so I just winged it. Everyone worked on a project of their choice and I taught about choosing patterns and fabric, I took their measurements and I altered their patterns for them. I covered such basics as using 5/8 " seam allowances, etc. This session lasted about three months until winter put a stop to it.

This time around, the teacher in me took over and  I decided that the classes should have a little structure  so I decided I would start each night with a simple pattern alteration lesson. Each of the ladies need a Full Bust Adjustment on their bodice patterns , so that's why I started with the two previous and this week's topic. Now, each lady can do her own alteration.

I also do a demonstration of a specific technique such as the Hong Kong finish ,which I did because of a request by Dorothy,  Stitch in the Ditch, and setting in a sleeve. Next week I'll demonstrate inserting a zipper. I also review things learned in the fall as the need arises. This all takes about a half hour and then everyone gets busy.

Full Bust Adjustment on Princess Seamed Garments  (Simplified Version )

Step 1...Draw a line across both pieces of  the bodice about half way between the two notches on each piece.


Step 2... On the front  side bodice piece. cut along the line to but not through the side and spread open 1/2" for each cup size above a B cup. Using a French Curve, join the  line where it was spread apart .


Step 3...  On the center front bodice piece, cut along the line and through each side. Spread apart the same amount that was spread for the side front . True each side edge.
.
 You didn't increase the pattern at the side seam so it is still the same length as the back side seam.                                                                                                
                                                                                                                                                                                                                                                     
Your pattern will now fit nicely over the bust area.


Note: This method works for me as well as my students. It may not provide enough room over the bust if you are very large in that area. You would need to do the slash and spread method. Please let me know if you would like me to show how to do that.


Demonstration... Setting in a Sleeve  ( so sorry about the quality of these photos!!!)

1.  Sew two rows of basting stitches from just before and just after the front and back notches on the sleeve cap.using the largest stitch length on your sewing machine Sew the first one at 5/8 " from the edge and the second row about 1/8" on the inside of the first one.
Be sure that you have marked the front and back sleeve notches as well as the shoulder dot.


2.  Sew the sides of the sleeve together. Draw up both rows of the basting stitches
     and distribute the fullness evenly along the cap of the sleeve between the notches and beyond if     necessary.. Be careful that there are no lumps and that it is as smooth as possible.


3...Pin the sleeve matching the shoulder at the dot  and at the under arm seam. These are the two most important places and you must match these two points.


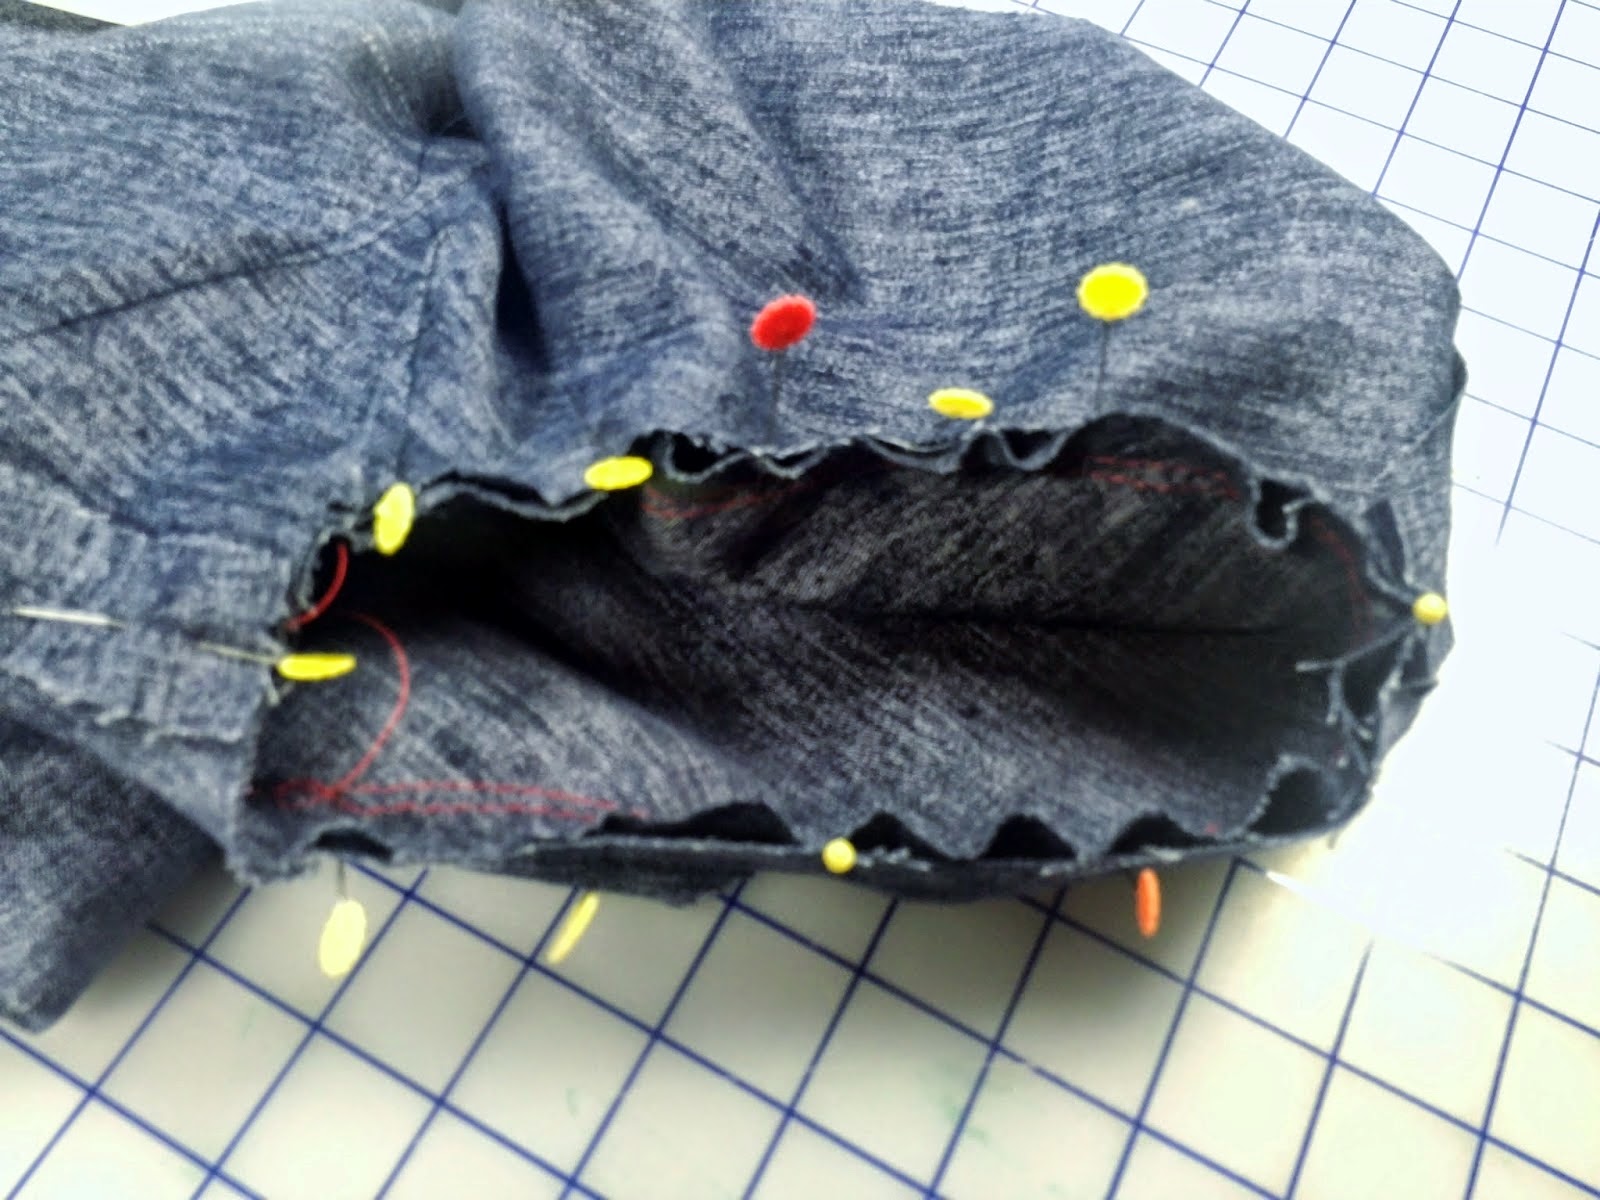
4..Pin the rest of the sleeve smoothing the gathers as you go and avoiding clusters  of stitches. Don't worry if you do not match the notches perfectly. It's better to go beyond the notches than to have a sleeve that looks puckered or gathered on the outside.


                       Your sleeve will look like this. I know it looks puckered but it will be OK.


5. Sew with the sleeve side up and be careful to sew exactly at 5/8". ( Bad pic! ) I start sewing at one of the notches.


6...Reinforce the seam between the notches by sewing about 1 8``on the inside of the seam.


   7...  Trim the seam between the notches to about 1 4``. You don`t trim the rest of the sleeve seam.
      Press the sleeve lightly toward the sleeve


And that`s all there is to it ! Most of the time , your sleeve will be pucker free. The problem arises when the sleeve has too much ``ease``. But that`s another story for another tim

Check back in next week when I`ll be showing how to narrow a shoulder and demonstrating inserting a zipper.


Tuesday, May 20, 2014

Sewing Class. ...Lesson 2

At this week's sewing class, I covered the Full bust Adjustment on a bodice that already has a dart and I explained what Stitch in the Ditch is and where it is useful.

Lesson 2: FBA with Existing Dart.

This adjustment is very much like the last lesson  but we have to deal with the dart that is already there.

Step 1... Locate bust point by measuring from shoulder seam at neck to center of bust
              (nipple). Draw a small circle  (A) on bodice front pattern to represent your measurement.


Step 2... .Draw a line from bottom of bodice front parallel to center front line to the bust point. (AB)
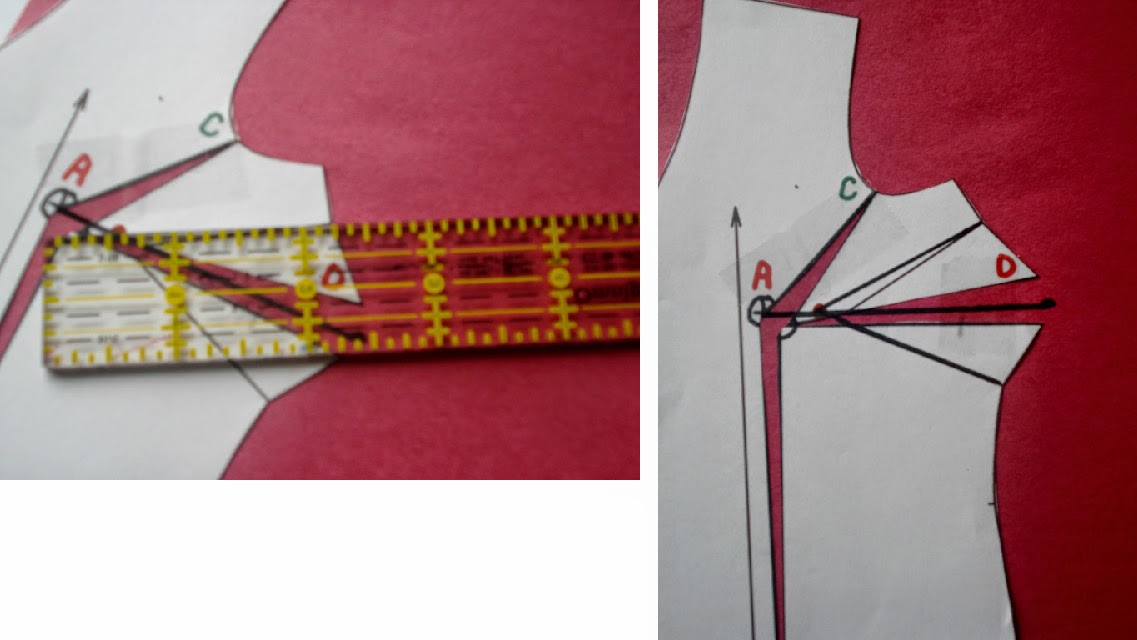
               Draw a line from bust point to the notch on the armscye (armhole). (AC)
               Draw a line joining the mid point of the dart along the bodice side to the bust point. (AD)


Step 3... Cut along the first line to the bust point and from the bust point to but not through the armscye.
              Spread the pattern 1/2 inch for each cup size above a B cup at the bust point. Ex...for a D cup                   ,you  would spread 1 inch.


Step 4...  Cut along line AD  ( but not through the bust point) then straighten the bodice side and join the bottom to the center front piece at (B). This will increase the bust dart.
At bottom , you will need to even out and add to the bottom of center front which will give you the extra length needed so your top won't hike up.


Step 5...  Slip paper under the pattern. From mid point of new dart, draw a line to the original bust point. Measure back about 2" along this line. Draw a line from this point to each of the original  legs on bodice side. This is the new dart .


Step 6... To even out the side of the bodice, fold the dart shut and down. Draw a smooth line with French curve and trim. When the dart is opened ,it will stick out along the side as it should.


Again, your pattern should now fit over your bust.


Technique Demonstration: Stitch in the Ditch. 

Click here for instructions on how to do this  very useful stitch.

Where you would Stitch in the Ditch;

     1.To secure the inside of a waistband  or cuffs on a shirt  and to eliminate bulk.


     2. At shoulder and underarm seams to secure facings so they will stay to the inside of a garment.


     3. At side seams of waistbands which have been elasticized to keep elastic from shifting and rolling. ( no pic)

     4. To join upper and under collar together on a jacket or other garment. (See jacket here)


Of course there are other places you might stitch in the ditch. I'll leave you to find them for yourself!

      I  hope this is useful to you. Please let me know if something isn't clear or doesn't make sense.

Come back next week for another lesson and technique demonstration.


Monday, May 12, 2014

Sewing Class...Session 2, Lesson 1

I'm starting the second term of sewing lessons and I thought I'd record the individual lessons here so my students could access them to review what was covered each night. As it happens , all my ladies need to make a Full Bust Adjustment on their garments. I decided , this was a good place to start!

Class #1 (May 7, 2014 )

Lesson...Full Bust Adjustment and Adding a Bust Dart

Step 1... Locate bust point by measuring from shoulder seam at neck to center of bust
              (nipple). Draw a small circle  (A) on bodice front pattern to represent your measurement.


Step 2... .Draw a line from bottom of bodice front parallel to center front line to the bust point. (AB)
               Draw a line from bust point to the notch on the armscye (armhole). (AC)
               Draw a third line from bust point to the bodice side about 3 or 4 inches below under arm. (AD)


Step 3... Cut along the first line to the bust point and from the bust point to but not through the armscye.
              Spread the pattern 1/2 inch for each cup size above a B cup at the bust point. Ex...for a D cup ,you  would spread 1 inch.


Step 4... Slip some paper under the pattern. Cut along the other line drawn (AD) from bust point to bodice side.  Cut to but not through the bust point .
              Straighten the side of the pattern so it is once again parallel to the bodice center front .This will open the bust dart.{ Notice that the bottom is now uneven. Slip paper under and extend the lower  center front. This will give you more room  and your garment will no longer hike up at center front.}


Step 5...At the side measure the width of the dart and mark the midpoint. Draw a line from this midpoint to the bust point.
             On this line measure about 1.5 to 2 inches back from the bust point . Draw a line from this point to  each side of the dart  on the bodice side .These lines are the dart legs.


Step 6.. Tape everything in place.Carefully fold the dart closed and lay it downward on the bodice side Draw a smooth line and cut away any excess from the side edge.Now open  dart, lay flat  and you should  see a little shape jutting out  from the side.


           You are finished and your bodice pattern piece should now accommodate the size of your  bust!


Demonstration...The Hong Kong Seam Finish

Click here for the instructions for this beautiful way to finish the inside of an unlined garment.

 Here are a few examples.


Next week, we'll cover the Full Bust Adjustment  for a bodice that already has a bust dart.
I'll  also demonstrate the Stitch in the Ditch technique.

I hope this is useful to others as well as Karen , Dorothy and Donna.

As always, more later from


Tuesday, May 6, 2014

Sewing a Collar and a Band

I got a request via Email to explain how to get a collar and collar band even on both sides. I thought that was an excellent question so thank you  Enid.

Here is the collar and band on my recently made B5786


To begin with,I often interface both the upper and lower collar and both parts of the collar band.
In my sample , I only did the upper collar and one part of the band because my fabric is a substantial cotton/lycra knit and I might add not an ideal fabric to show off top stitching  or pressing skills as you will see.

I also want to note that after teaching ladies who already sew to sew better, a common flaw is to not honour the 5/8" seam allowance required by most pattern companies. I also notice that they don't trim off excess interfacing such as you see below .This will affect your results so be careful about these "little" things.


I will now proceed with a step by step of how I achieve my results.

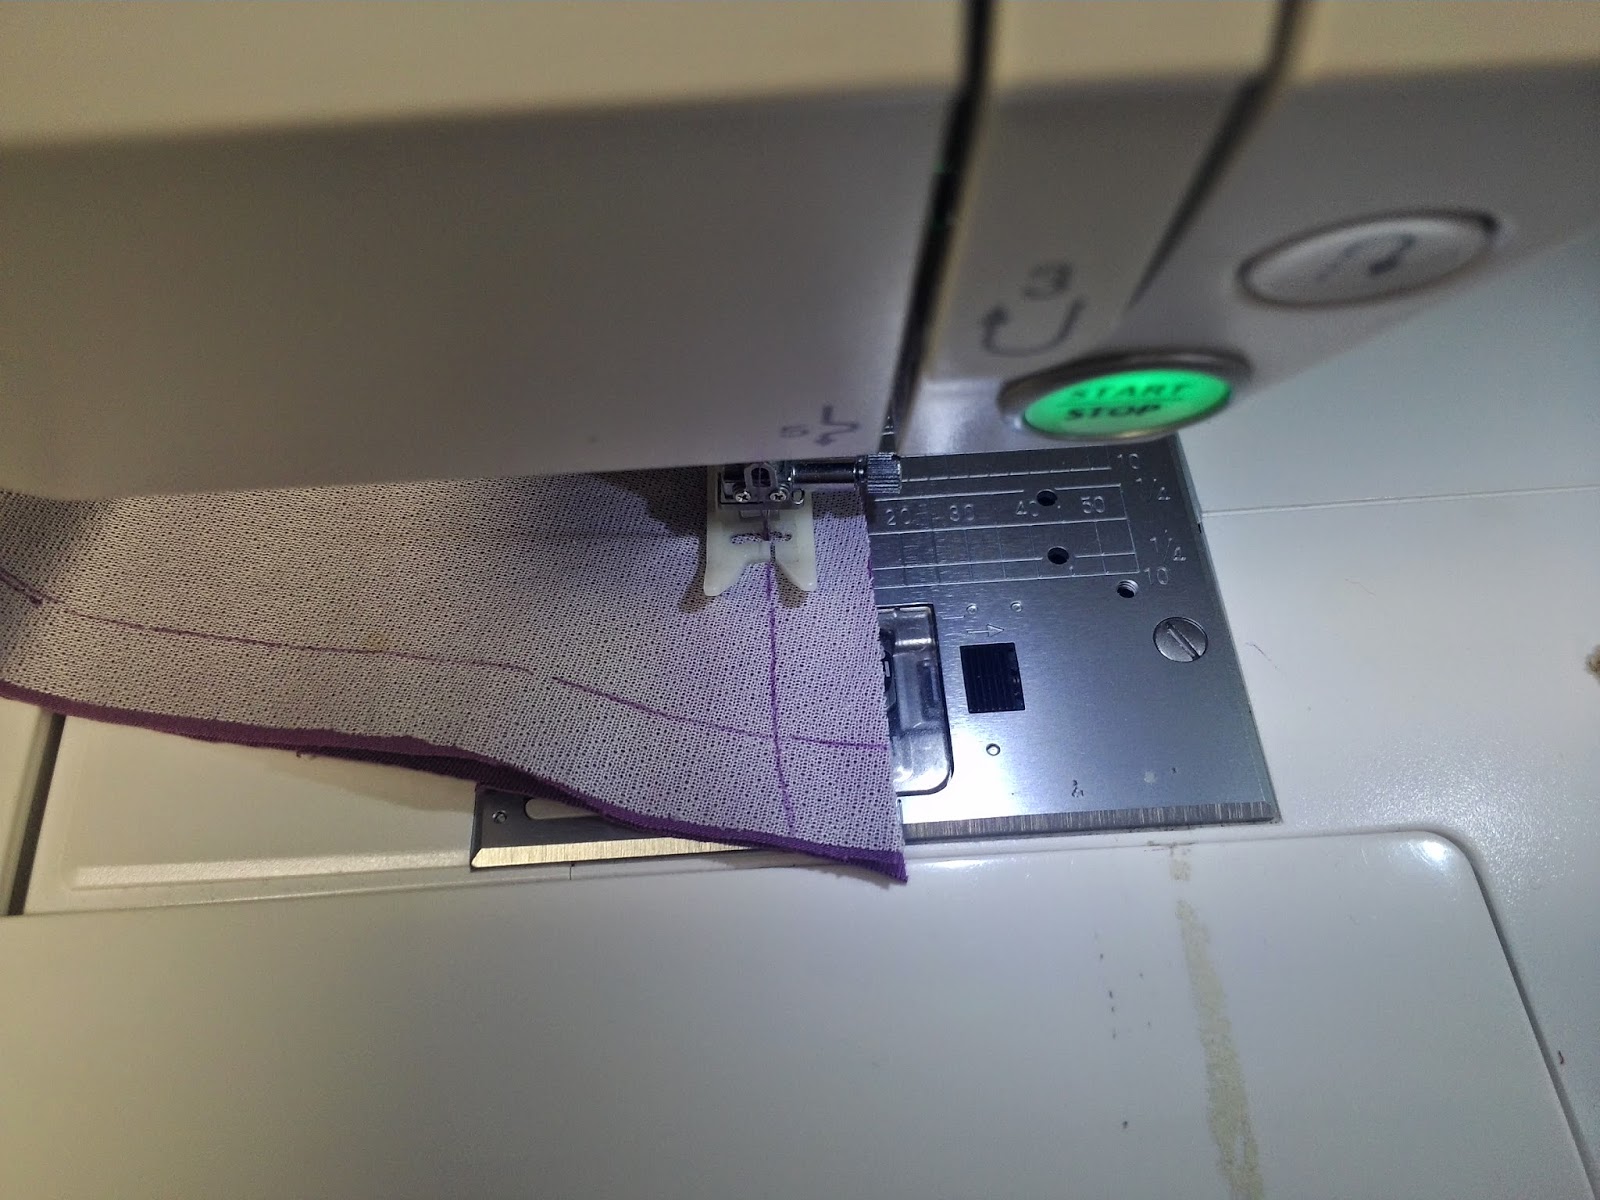
Step 1....On the interfaced side of the collar and band because it is the most stable and you will sew           from this side ,carefully measure and mark the 5/8" seam allowance. I use a fast fade  marker for this. Be particularly careful with the curve of the band.


Be sure to mark the circle on each side of  the band.. The collar will fit between the two circle.


Step 2....Sew the upper and lower collar together  being very careful to follow your marked line. Don't stop at the corner and turn but sew right off the piece and then start again. You will get a much cleaner and even point or corner this way.


Press the seams of the collar on a tailor board if possible. Take time to press carefully until you have  nice crisp edges. If you are planning on top stitching , now is the time to do it.


Step 3......Place one band on either side of the collar making a ''sandwich''. (Sorry that my pic only shows one end.) The circles on the band  should be located at the edges of the collar.


Step 4......Sew exactly on the line drawn on the band. Trim the seam , turn the band to the right side to expose the collar. Press carefully. Do not top stitch the band until after it is sewn to the garment.


Your collar with band is now ready to be sewn to your garment .

If you take your time, mark the 5/8'' seam allowances ,sew and press carefully, you should achieve great looking collar and band  Good luck with this and Happy Sewing from