Thursday, April 15, 2010

The Hong Kong Finish

Until about 10 years ago,what I knew about sewing was what I had learned in Home Ec in grades 7 to 9 and what my Mum had taught me when she had time. Mostly, I learned by trial and error. Oh ,and there was Vogue Sewing Book, too.

Then about twelve years ago, I discovered Sew Perfect with Sandra Betzina and my sewing changed forever.I taped 10 VHS tapes of the show and I still learn something every time I watch an episode.

If you've seen Julie/ Julia, you can get the idea of how I feel about Sandra Betzina.It's pretty much how Julie felt about Julia Childs.Unlike Julie however, I got to meet my mentor at a fitting Workshop and it was everything I dreamed it would be.

Well ,enough rambling. I want to show you what a Hong Kong finish looks like and how to achieve it. (And you know it. I learned from SB herself.)

When looking through my photos, I found I don't have many I can use here. I'll show you what I've got and will add more this week because I'm planning on using this technique to finish the inside of a little jacket I'm making.

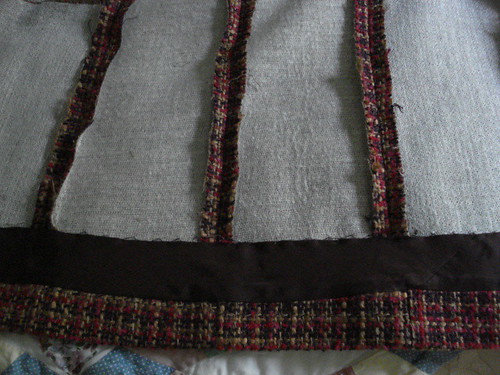
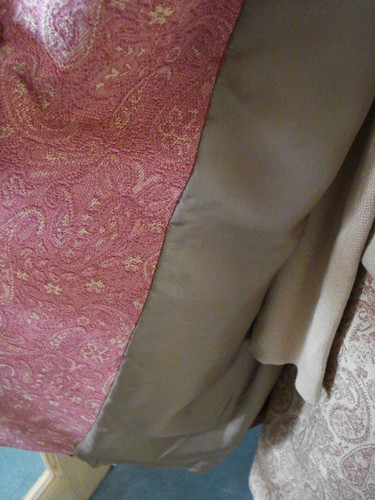
Here is the inside finish of a felted wool jacket I made for my Swap 2009.


I used a Hong Kong finish only on the facings of this jacket but you could use it on all the seams if you wanted to.

Here is what you do:

#1. Cut bias strips of a lightweight fabric ( I prefer silky).and sew them together or make continuous bias as I showed you here. Do not fold your bias strips.

#2. Sew the strips to the inside of your garment to your seam allowances with a 1/4 " seam.


#3. Wrap the strip to the inside of your seam allowance,pin, and on the outside ( of the seam allowaance sew in the ditch ).


That's all there is to it and you'll have a great looking inside to your garment even if it's not lined.

You can use this finish on all your seams,even the sleeves.


Now I want to show you how to do this: (


When you sew the facing to a coat or jacket, it's better to not sew it all the way to the the end of the bottom because usually if you do, the bottom will want to pull up like this:
(I sewed the facing to the end of the bottom here to show you what I mean.)


So it's better to sew only to about an inch before the end,like this:


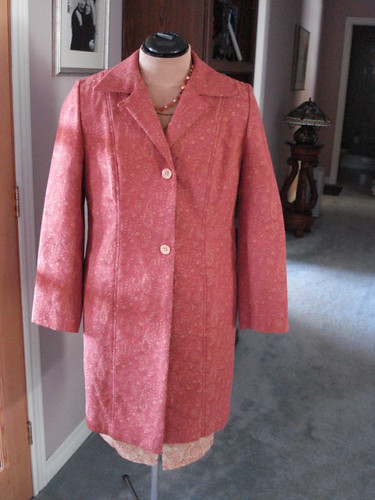
Here is the cream jacket I made last week.( I had planned on not lining this jacket so I could show you how to finish all the seams with a Hong Kong finish,but I had to change my mind because you could see through the fabric a little). You can see that I sewed the facing to about an inch before the end. As well,I sewed the lining to about an inch before the bottom. This inch has a raw edge and that's where I'll put a Hong Kong finish.


I used a piece of bias poly fabric ,folded the top and sewed it to the facing with a 1/4" seam.


Then, I wrapped it around the facing....


I stitched in the ditch...


And this is what it ends up looking like.


I hope this was clear enough and that you'll try this technique the next time you make a coat or jacket.If you have any questions,just let me know by leaving me a comment.If you want to look at my cream jacket,look here.

Have fun sewing! I know I do!

Wednesday, March 24, 2010

Making a Coat Look Professional, Part 2

I hope Part 1 on this subject will help and encourage someone to make a coat.

In this post,I'll talk about the inside of the coat and how to make it look Wow!and just a little couture.

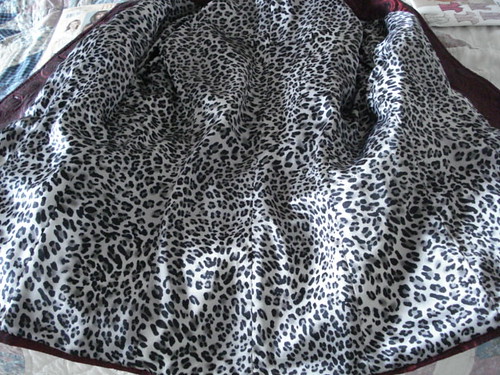
A good quality lining is a must. I like to use a Bemburg rayon lining in a lighter coat or jacket because it breathes and is drapey and richer looking than a polyester lining. However,I will use a polyester satin or silky print that has pizzaz sometimes to add a little drama. Here are a couple of examples:

I made the lining of this jacket to match the blouse that goes with the suit.


I love animal prints but I'm too shy to wear them but in a lining, I think it can add a bit of fun to a jacket.


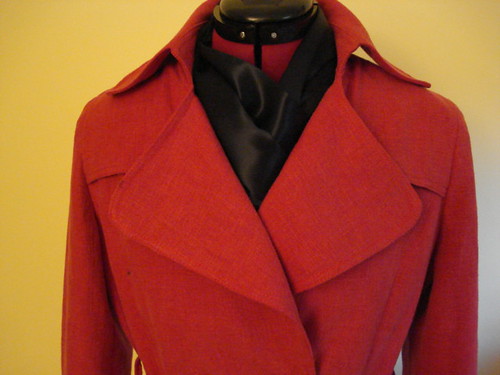
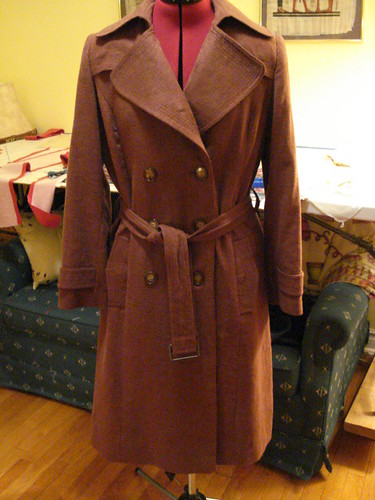
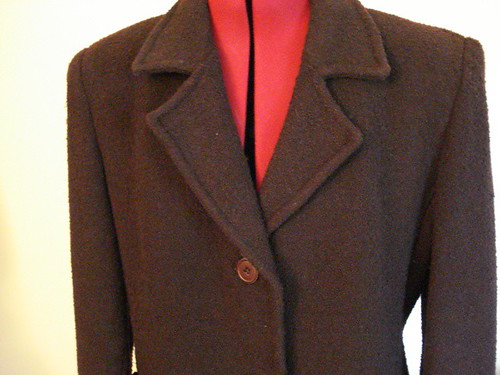
Having said all that, silk is a luxurious choice, especially charmeuse, for a lining!In the two linen trenches that I made for my DD (red) and me (brown),that's what I used.
For this one only the matching scarf shows.I don't have a pic of the lining.


This is a coordinating silk print which I couldn't resist . It was $29.99 a metre but on sale for buy one get two free!


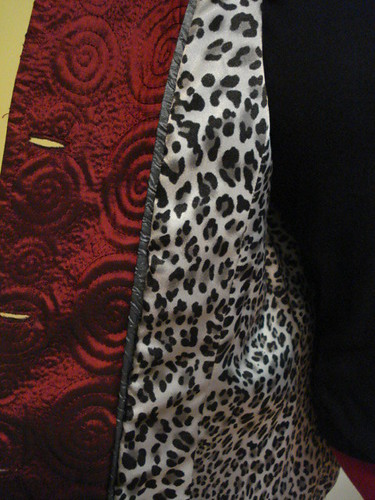
Another element you can add to the inside of a coat is a coordinating piping between the facing and the lining.You have to use a very lightweight piping cord or else when you press, you'll get an imprint on the right side of the coat.I learned this technique by watching Sandra Betzina on Sew Perfect when it was still on HGTV.


To see this jacket look here.

For this coat ,look here.

The next tip I'll share with you is best shown first in a photo or two.


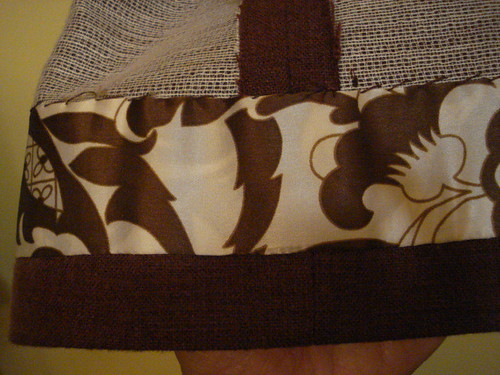
What you see is something called a Hong Kong finish at the bottom of the front facing. It consists of wrapping a piece of fabric around the part of the bottom of the facing that isn't sewn in place. I'll do a short post on this technique in a couple of days so check back if you're interested.


#4...If you have a Ready-to-Wear (RTW)coat chances are that if you look on the inside of the bottom of the coat and lift up the lining you'll see a wide band of the lining fabric cut on the bias like this.


The reason for inserting this strip is to add extra support to the hem of the coat. You would first hem the coat at the top of the hem and hem it a second time at the top of the bias strip. This technique is especially useful for a heavy coat.
Also it just looks nice if your coat is open and the lining should lift up.


( To see this coat ,look here).


#5...My last tip concerns attaching the lining to the coat at the hemline.As you see in this photo,


I attach the lining by crocheting thread chains that are about an inch and a half long at the center front ,center back and side seams of the lining and attaching them to the corresponding coat seams.
This is a useful step because it controls your lining and keeps it closer to the coat without having to attach the two together for the whole width .

Well, I hope I've inspired you to make that coat you've been thinking about.It takes a long time and a lot of sewing to make a coat ,but it's worth all the little extra steps you take to make it look professional.

Good luck and Happy Sewing from Diana.

Sunday, March 21, 2010

How do you Make Your Coat Look Professional? Part 1

I've been occasionally asked what I do to make my garments look professional,especially my coats.
Well I thought that might be a good topic for this ,my teaching blog.
Of course there are any number of steps you can take to make any garment look like you bought it in a boutique..
I was once a guest in a home whose hostess I did not know. I was wearing this coat


and this lady oohed and ahhed about my coat. She said it was similar to one she had seen for $600.00.She couldn't believe I had made it.

Coats are my favorite thing to make,no contest. It's probably because I have plenty of occasion to wear coats but maybe not dresses so much since being retired.

I thought I'd share a few steps to take to make a coat look like you bought it at a boutique or major department store.

#1....Interface, interface, interface. Nothing looks better in my opinion than a coat that has a certain crispness of hand.
I usually interface the whole front and sometimes the whole back of a coat.It depends on the fabric's hand or thickness.
I also interface the facings and both the upper and under collar , the hem ,the sleeve hem and the sleeve cap but not the whole sleeve..


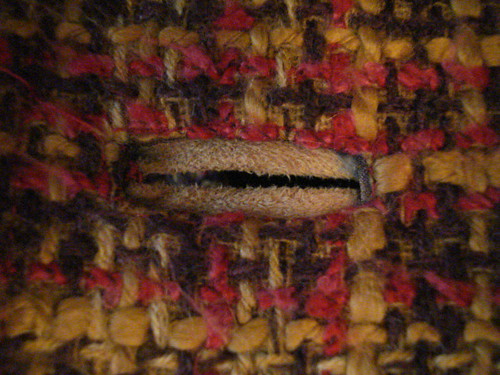
#2.Bound buttonholes,if well made (and they are not difficult if you practice a little) are an expensive looking touch on a coat.


#3... When a coat has a lapel, if you take time to run an ease line along the roll line and pull up the thread just a little bit (about 1/4 to 3/8 ")and support it with stay tape, your lapel will fold back easily and also will fit closer to the body.
( sorry, can't find a photo of this process)

#4... When you've joined your coat to the lining,If you'll join the upper and lower collars at the neck seam, ( I do this by hand in the ditch, the coat won't separate when you take it off.It will feel better too.

#5...When you have sewn your sleeves in, if you stitch again from front notch to back notch while holding your free finger behind the presser foot, this will ease in some of the under arm seam . Support with stay tape and your sleeves will fit closer to the body. This too will make your coat look and feel more professional.
After the lining is in, join the under arm seams of the coat and the lining together with hand stitching.Again, this step makes the coat and lining stay together,just like a Ready-to- Wear (RTW) coat .

#6... Whenever possible ,if you can attach the front facings to the coat front, either by stitching by hand or by using Steam-a-Seam,your coat will stay together and will feel like those you buy at the store.
This coat used the same pattern piece for the center front and the facings so it was simple to join the two together with hand stitching.


On this coat ,I was able to join the facing and front of the coat by hand stitching with black thread through the black checks on the outside of the coat on through to the edge of the facings. It doesn't show at all on the outside .


#7...Top stitching or edge stitching can go a long way to making any garment look classy. It takes practice,but with the right kind of thread/needle combo,and some practice,you can achieve professional looking stitching around the collar,lapels and front edges of a coat,jacket shirt,etc.


When its possible, I use a top stitching thread such as Guterman's extra strong thread. If I can't match up my colours,I'll use two spools of thread threaded through the same needle. The size needle will depend on your fabric. There are special top stitching needles available but I must admit I mostly use a Universal 80/12 or 90/14.

I hope this helps someone and encourages you to go a little further to achieve professional results.

Part 2 will explain what I do to make the inside of a coat or jacket look professional and almost couture.

Happy sewing from Diana

Saturday, March 20, 2010

Stitch in the Ditch

Do you ever wonder what the term "stitch in the ditch" means?
The photos below give a good illustration of stitching in the ditch.


Notice that in both photos, I'm stitching between two garment pieces on the outside and that the needle is running exactly in the space or "ditch" between the two .pieces.

When would be a good time to use this technique?

...when a skirt or pant has no waistband ,you could stitch in the ditch at the side seams to make the facing lie flat and stay put.

...when your garment has a neck facing, you can stitch in the ditch at the shoulder seams so the facing will stay in place.

... when you are attaching the facings to a sleeveless garment, you can stitch in the ditch at the shoulder seams as well as the under arm seams so the facing stays where it should.

... you sometimes can stitch in the ditch at the neckline to attach the collar to the under collar when you have both a collar and a facing.That is what I'm doing in both photos above.

And I'm sure there are many times you will want to stitch in the ditch. But usually, it will involve a facing of some sort.

Now go sew something and have fun.

Thursday, February 18, 2010

Making Continuous Bias

Have you ever heard of continuous bias? I first learned about it from a customer at Fabricville where I no longer work.(But I really enjoyed my 6 years as a part-time worker).

I also have to acknowledge Sandra Betzina and Ron Collins because their Web TV Show clarified the process for me.

1. You start with a square of fabric.This one was 15"square.


2. Draw a line to join two corners on the diagonal.


3.Cut the square in two along the diagonal.


4. Bring the two triangles together right sides of fabric facing each other.


There should be two little triangles sticking out at each side.


5. Sew with an exact 1/4" seam.


6. Open up the piece and it should look like this. Press open the seam.


7. Draw lines 2' deep.(You can make them wider if you want but you'll end up with less product.Don't worry if your last strip is a little more than the 2".Just trim off the excess.


8. Fold your piece so it looks like this and your lines are lined up.It took me some time to figure this part out.


Now this step is a little hard to explain but bear with me.


9. Move the bottom half over to the left until the first bottom strip lines up with the second strip in the top half.


10. Now you're going to pin the two halves together from this point. When you pin, stick the pins in so you will have a 1/4" seam but your bottom and top lines half to intersect so stick the pin through the bottom line at 1/4" and then through the top line at 1/4" like this.


Notice the shape of your fabric now.

11. Now sew the 1/4" seam across the joined lines. Press the seam open.


Notice how the lines of each half line up nicely.


12. Begin to cut along the lines being sure to cut only one layer at a time until you reach the end of your fabric.


Believe it or not,but that little 15"square of fabric will yield you about 96" of bias strips.


Now you can go ahead and prepare your strips in whatever way you prefer. This is what I do.


I truly hope this is clearly explained and that somebody can use this in their sewing projects.Please let me know what you think.