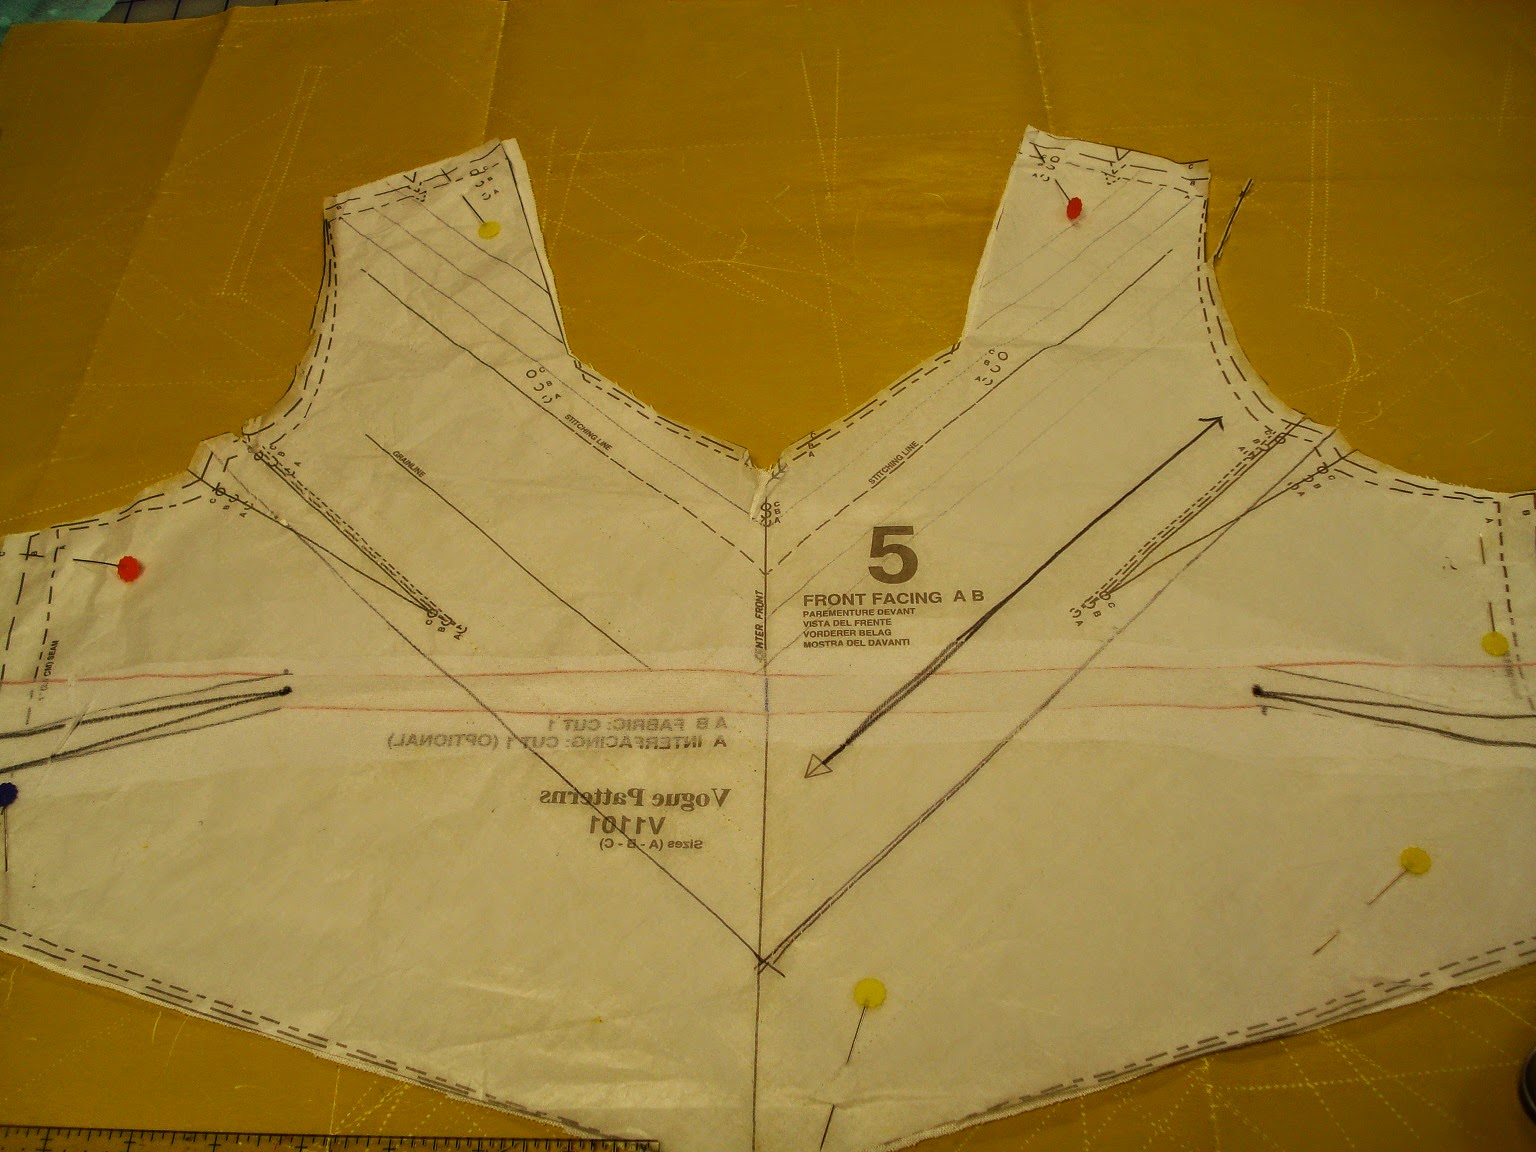
Next step is to join the shoulder seams and the neckline seams on the tunic and the tunic facings.
For Tunic With right sides together and using twill tape or ,as I did, the selvedge of a light fabric to stabilize the seam, sew a 5/8" seam. Press open or toward the back. Note:I put the tape on the back side.
For Facings The side on which you drew the lines is the right side. Join the shoulder seams . No stabilizer this time. Pres open the seam.
You are now going to join the tunic and facing together at the neckline only. The armholes will be joined using a bias band of your fabric much later.. Mark you 5/8" seam allowance all the way around the neckline on one side (either facing or garment side). Pay particular attention to the corners where the small circles were on the pattern piece.
Again you must stabilize the neckline using a light weight selvedge or twill tape. On the tunic side (or side not marked with the stitching line because you don't want to cover up your stitching line), pin the stabilizer all the way around the neckline.over the stitching line.

Sew the neckline seam following the line you drew, being very careful to honour the 5/8" seam allowance. Clip at corners to but not through the stitching.
Trim your seam to 1/4" but leaving the tunic side slightly wider than the facing side. To do this, cut from the facing side and hold your scissors at an angle leaning toward the facing.
Press the seam allowance toward the facing side
From the right side of the garment , understitch on the facing side . ( Click on understitch for a review if you don't remember how)
Press neckline seam which will want to favour the facing side because of the understitching.
At shoulder joint, if you have bulk, pound with a hammer gently to flatten out the seam.
Top stitch around the neckline if you wish but I chose not to.
Next time, I'll show you how to prepare for the sewing of the lines for chenilling.


